If you already have a Naked Objects
application running then you are probably running it from the
commandline. This has the classpath set up, and the application
archetype provides Eclipse .launch configurations
for running the DnD viewer. So the easiest way to get
Wicket Objects viewer up and running is probably
from the commandline.
First, add a <dependency> to the
Wicket Objects runtime:
<dependencies>
  ...

  <!-- WicketObjects -->
  <dependency>
    <groupId>org.starobjects.wicket</groupId>
    <artifactId>viewer</artifactId>
  </dependency>

  ...
</dependencies>
As you did for the DOM project, also add in dependencies to the custom components (see Chapter 5, Custom Components) if you are going to be using them:
<dependencies>
  ...

  <!-- WicketObjects view extensions -->
  <dependency>
    <groupId>org.starobjects.wicket</groupId>
    <artifactId>view-gmap2-applib</artifactId>
  </dependency>

  <dependency>
    <groupId>org.starobjects.wicket</groupId>
    <artifactId>view-gmap2-view</artifactId>
  </dependency>

  <dependency>
    <groupId>org.starobjects.wicket</groupId>
    <artifactId>view-googlecharts-applib</artifactId>
  </dependency>

  <dependency>
    <groupId>org.starobjects.wicket</groupId>
    <artifactId>view-googlecharts-view</artifactId>
  </dependency>

  <dependency>
    <groupId>org.starobjects.wicket</groupId>
    <artifactId>view-calendarviews-applib</artifactId>
  </dependency>

  <dependency>
    <groupId>org.starobjects.wicket</groupId>
    <artifactId>view-calendarviews-view</artifactId>
  </dependency>

  <dependency>
    <groupId>org.starobjects.wicket</groupId>
    <artifactId>view-cooldatasoftmenu-view</artifactId>
  </dependency>

  ...
</dependencies>Unlike the DnD viewer which is bootstrapped
using NakedObjects main class, we're going to
use org.nakedobjects.webserver.WebServer. This also
provides a main(), and in it boots up an
embedded Jetty webserver and picks up the
web.xml. Therefore, edit the
pom.xml, and add/comment in:
<dependency>
 <groupId>org.nakedobjects.core</groupId>
 <artifactId>webserver</artifactId>
</dependency>
Next, we need a web.xml file to define the
web app, in the src/main/webapp directory. The
contents of this is largely boilerplate, and will be very familiar if
you already know the Apache Wicket
framework:
<?xml version="1.0" encoding="ISO-8859-1"?>
<web-app xmlns="http://java.sun.com/xml/ns/j2ee" xmlns:xsi="http://www.w3.org/2001/XMLSchema-instance"
 xsi:schemaLocation="http://java.sun.com/xml/ns/j2ee http://java.sun.com/xml/ns/j2ee/web-app_2_4.xsd"
 version="2.4">

  <display-name>claims</display-name>
  <filter>
    <filter-name>wicket.app</filter-name>
    <filter-class>org.apache.wicket.protocol.http.WicketFilter</filter-class>
    <init-param>
      <param-name>applicationClassName</param-name>
      <param-value>org.starobjects.wicket.viewer.WicketObjectsApplication</param-value>
    </init-param>
  </filter>

  <filter-mapping>
    <filter-name>wicket.app</filter-name>
    <url-pattern>/*</url-pattern>
  </filter-mapping>

</web-app>
The WicketObjectsApplication is a
subclass of Wicket's own
WebApplication that bootstraps Naked
Objects, handles authentication and sets up sessions and
transactions.
Apache Wicket webapps can be run in one of
two configurations, either in development mode, or
deployment mode. In Wicket, the configuration type
can be specified as either:
A system property:
-D
            wicket.configuration
as a servlet specific
<init-param>as a context specific
<context-param>
Setting this value changes various properties, such as whether
templates are reloaded. Wicket's
Application#configure() method is the place
to look for all the differences.
For its part, Naked Objects defines various
deployment modes. For example, exploration and
prototype mode are both intended for single-user
development, with the former requiring no login and also including any
actions annotated as @Exploration. For multi-user
(production) use, Naked Objects provides the
server deployment mode, associating s separate
Naked Objects runtime
(NakedObjectsContext) to each thread (ie bound
to a ThreadLocal).
Wicket Objects maps the
Wicket configuration type to Naked
Objects' prototype deployment mode.
However, the server deployment mode provided by
Naked Objects is not quite appropriate for a
Wicket webapp, because there could be multiple
concurrent requests for a given user (originating from the same
browser/user agent). Wicket Objects therefore
defines a custom deployment mode which binds the Naked
Objects runtime to the Wicket session
(see the NakedObjectsContextForWicket class if
you're interested in such things).
What all this means is that selecting between Naked
Objects deployment modes is done just by specifying the
Apache Wicket configuration type. If you're
already familiar with Wicket there's therefore nothing new to learn:
just configure the webapp to run in either
development or deployment
mode.
Since both of the deployment modes supported by Wicket
Objects require a login, it means we need to set up
security. The NakedObjectsApplication class
provided by Wicket Objects subclasses from
Wicket's own
AuthenticatedWebApplication, and serves up a
sign-in page. To ensure that this sign-in page appears, every web page
served up by Wicket Objects is annotated with
@AuthorizeInstantiation("org.starobjects.wicket.roles.USER"),
which requires that every login has a role called
org.starobjects.wicket.roles.USER.
Wicket Objects delegates to Naked
Objects to authentication. Assuming that you are still
using Naked Objects' default file-based
authentication mechanism, this means each user/password should be
defined in the config/passwords file:
sven:pass
dick:s3cr3t
bob:obv1ous
Normally, the passwords file is also used
to specify the login roles. However, Wicket
Objects simply always places each login into the
org.starobjects.wicket.roles.USER role, to ensure
that once the sign-in page is navigated past, that the user can access
each web page.
Running the application is just a matter of running the
org.nakedobjects.webserver.WebServer. For
example, in Eclipse the following launch configuration should
suffice:

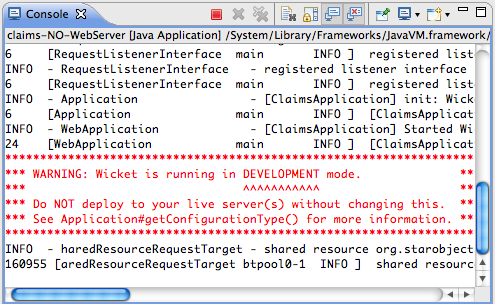
Running this will boot strap a Jetty webserver:

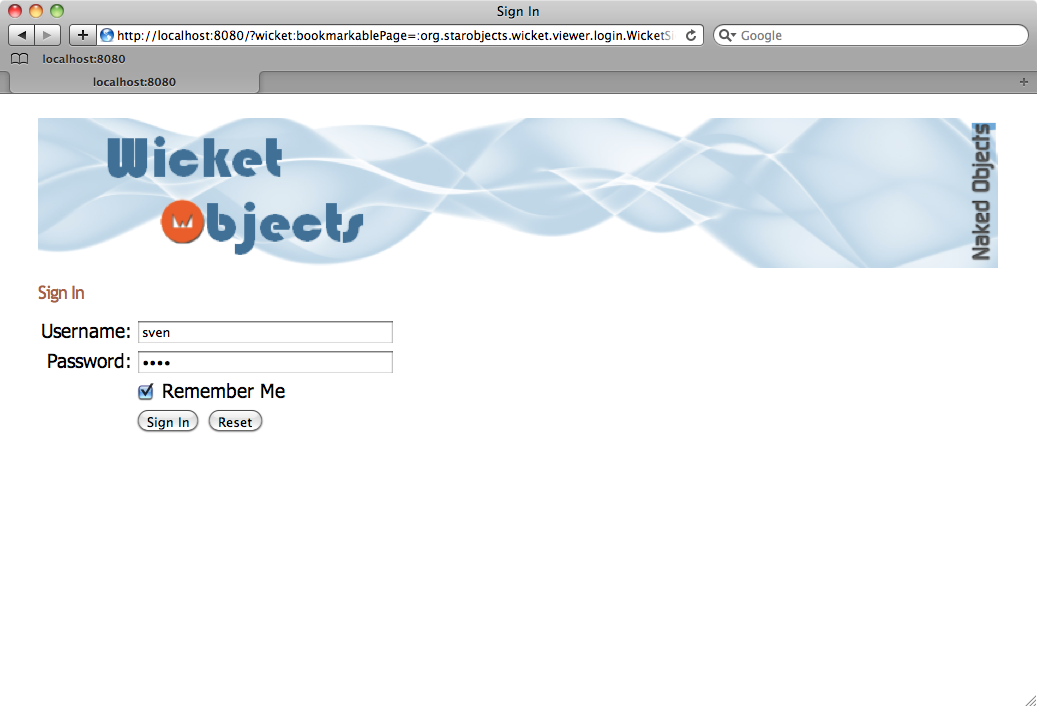
You can then log on using http://localhost:8080:
